Horiba MIRA has enhanced its kinematics and compliance (K&C) facility in the UK with the addition of fully integrated point location measurement capabilities – claimed by the company to be the latest technology in suspension testing.
The K&C Inspect system uses twin photometric cameras from Aicon to offer this measurement capability during the K&C testing process. Alongside its main purpose – which includes measuring a complete spectrum of parameters to aid the understanding of a vehicle’s ride and handling performance – K&C testing offers an opportunity to measure component displacements and deformations when loads are applied to suspension and steering systems.
The reactions to such loads are complex and three dimensional, and vehicle manufacturers and Formula One race teams increasingly wish to characterize these reactions to enhance the correlation of simulation models – something the K&C Inspect system can help with.
The K&C Inspect system works by using small reflective targets that can be accurately located in three dimensions and tracked at high frequency throughout a K&C test. Applied to any surface on the vehicle in view of the cameras, the targets are used to measure component, chassis and subframe displacements and deformations. By using two Aicon Move Inspect cameras, up to 50 points can be measured simultaneously and the output recorded directly alongside K&C data.
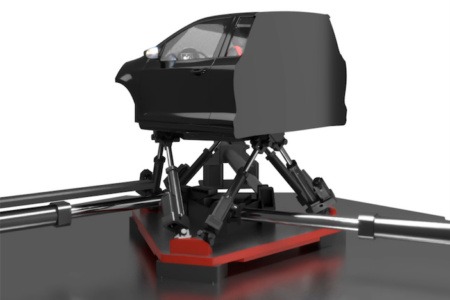
Already home to what the company claims is Europe’s only independent dynamic suspension parameter measuring machine (SPMM), this investment by Horiba MIRA into its K&C facilities represents the latest development from a 20-year partnership with SPMM manufacturers, Anthony Best Dynamics (ABD).


