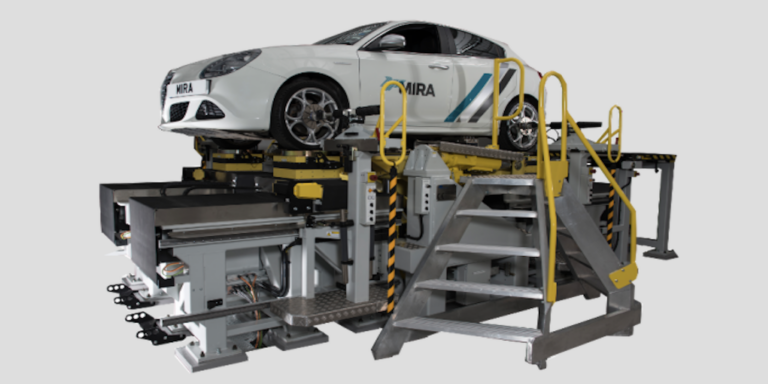
Automotive test systems supplier, AB Dynamics, has upgraded its SPMM 5000 Kinematics and Compliance (K&C) testing machines with a new integrated camera system feature that can help in the analysis of competitor vehicles or validation of the characteristics of pre-production prototypes.
The feature, named K&C Inspect, enables users of SPMM (suspension parameter measurement machines) to capture the movement of up to 50 target points in three dimensions, which is then automatically synchronized and recorded alongside the data that is usually collected during K&C testing.
“In addition to body movements, there are elements of the vehicle suspension and steering systems that move, flex and twist, in ways that our customers are interested in measuring,” stated Matthew Dustan, AB Dynamics’ senior project engineer for SPMMs.
“This is a major breakthrough for K&C testing because it enables users to measure the movement of elements of the vehicle that are often unaccounted for in traditional testing,” added Dustan. “In the past, measurement was more or less limited to wheel position movements and tire contact wheel forces. Body movement was measured by draw wire encoder or inferred from the position of the center table, to which the body is clamped. In reality, all vehicles are flexible, so by capturing the positions of key points, substantially more information can be derived from K&C testing.”
How it works
The system has been enhanced with a pair of Aicon HF4 photometric cameras on an adjustable mounting system with a data capture rate of up to 1,000Hz. Software uses the camera input to locate and track the X, Y and Z position of the user-selected targets, automatically transforming the data into K&C rig coordinates. The displacement data is stored alongside other K&C results in the SPMM database, ready for export and processing, and can be graphed against other test data channels in graphing and analysis programs.
System accuracy varies with the distance from camera to target, being typically 20 microns (in X and Y) and 80 microns (in Z), at 1.5m. The high accuracy of the system allows the measurement of components and body parts that do not deflect greatly during a K&C test, such as subframes.


